Getting started with TradeSpan
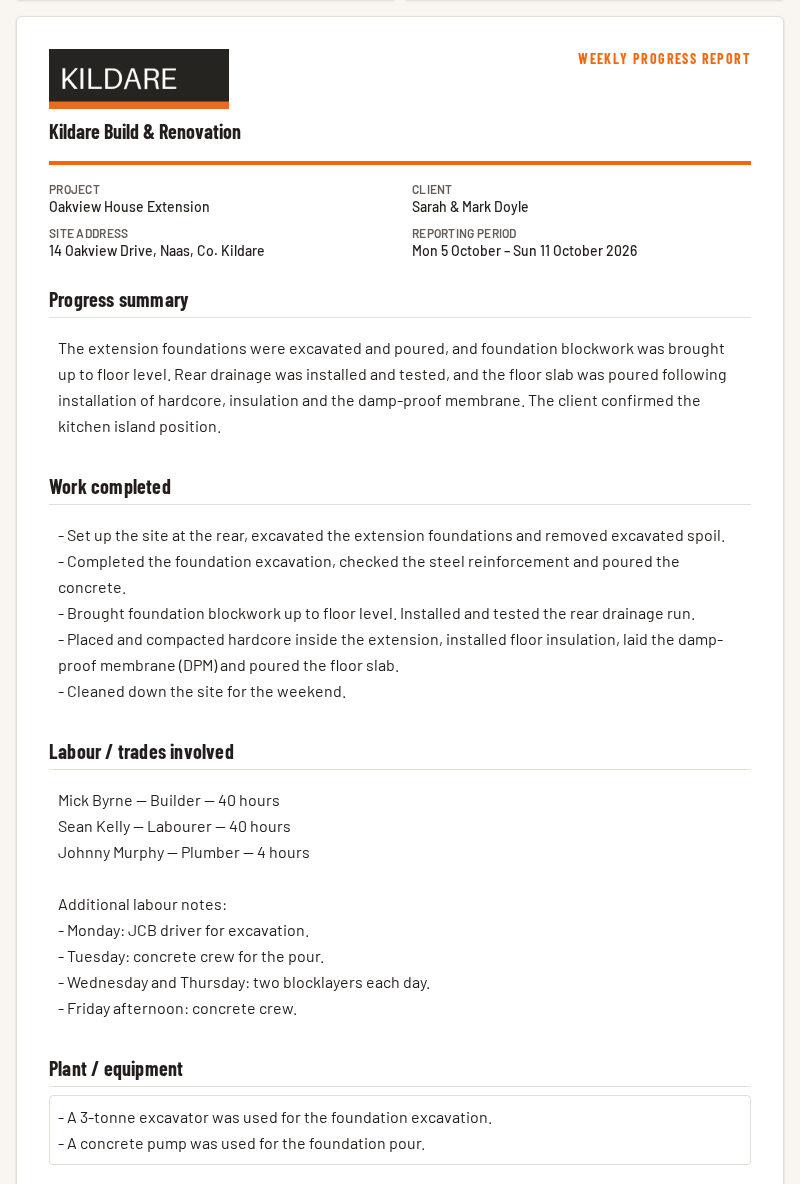
A practical walkthrough from setting up your company to creating your first client progress report.
Set up your company
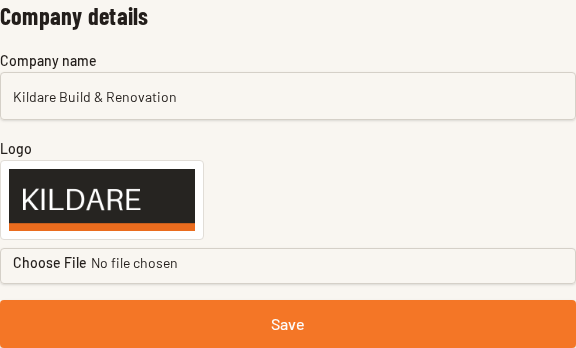
Add your company name and logo on the Company page. These details appear on your client reports.
Add your team
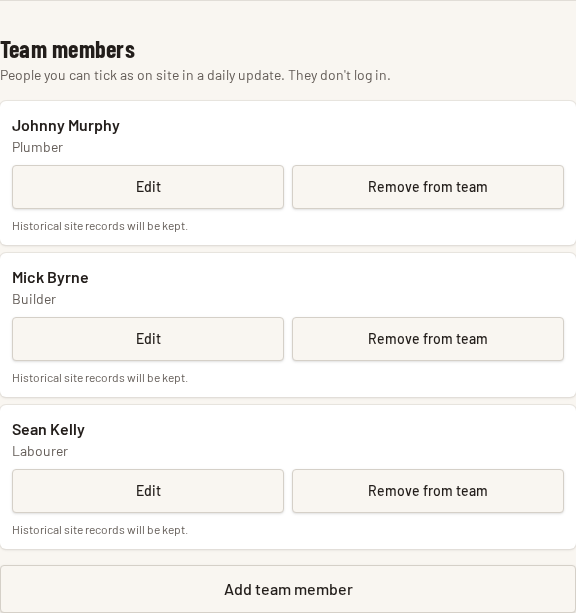
Add your regular workers and their trade or role.
During each site update you can select who was on site and record their hours.
Tip: Removing somebody from the active team does not remove them from historical site records.
Create a project
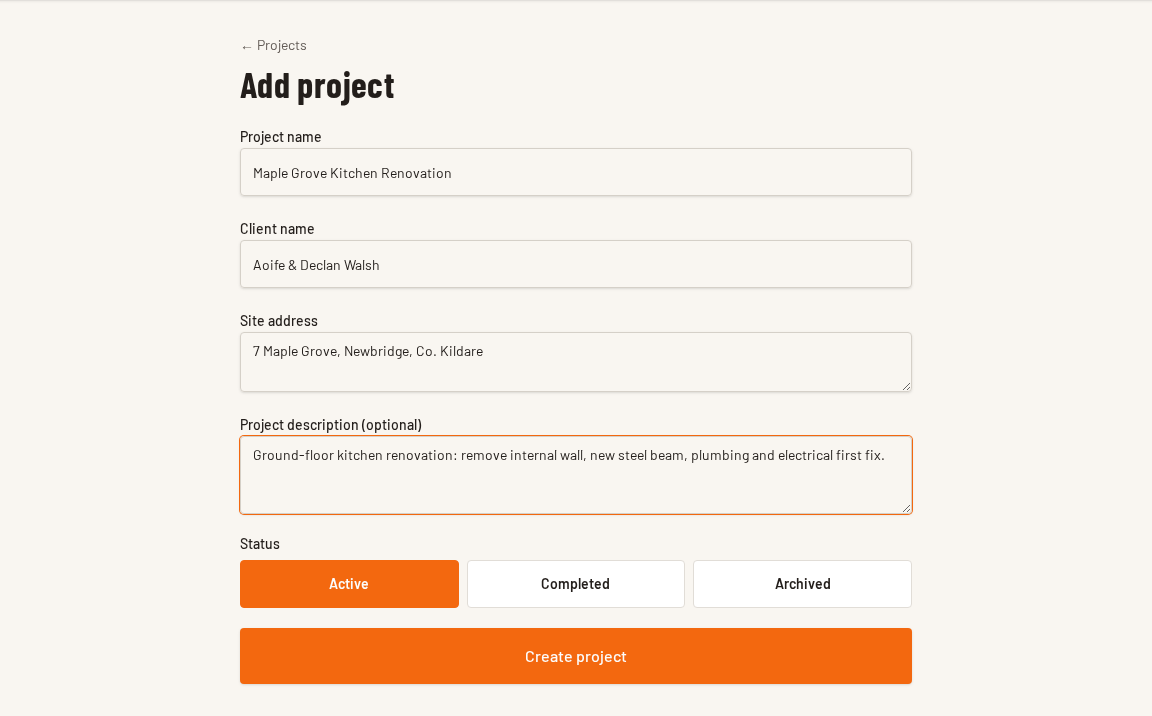
Create the job using:
- project name
- client
- site address
- optional description
Record the day's site update
Select the correct site date and record what happened on site, for example:
- work completed
- labour and hours
- plant / equipment
- deliveries
- weather / site conditions
- delays / issues
- visitors / inspections
- client decisions
- next steps
Your company, or an individual project, can choose which Daily Update sections are shown or required.
Tip: Use your phone's normal voice dictation instead of typing long notes.
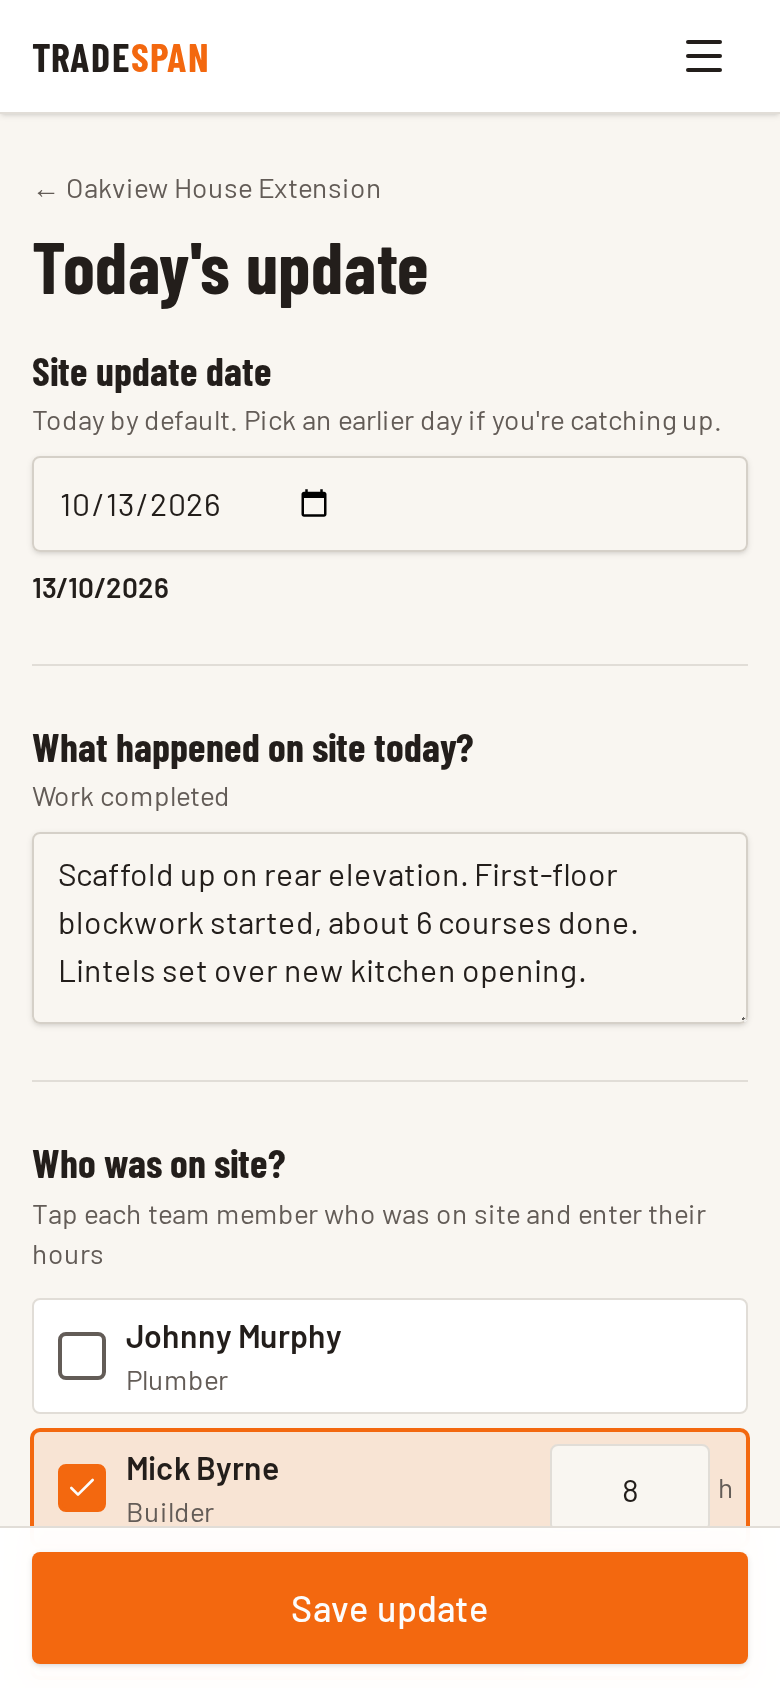
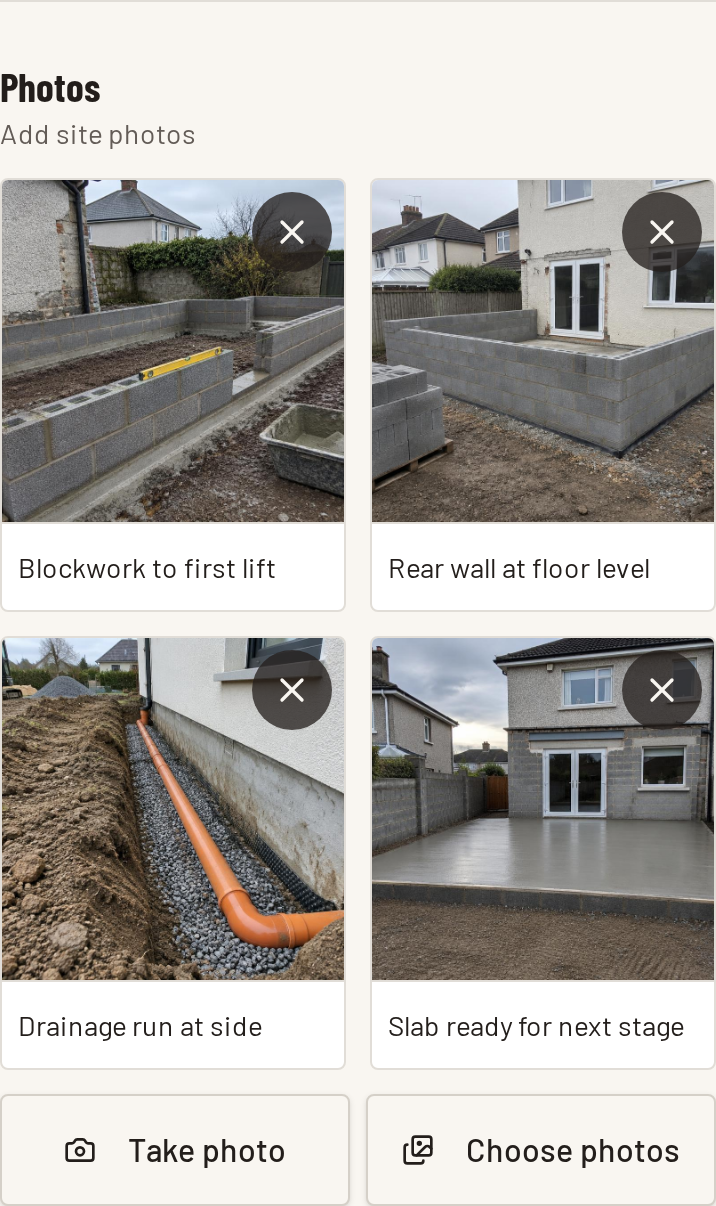
Add site photos
On a phone, use Take photo to open the camera or Choose photos to pick from your gallery.
Photos stay linked to the correct project, date and daily update. You can add an optional caption to each one.
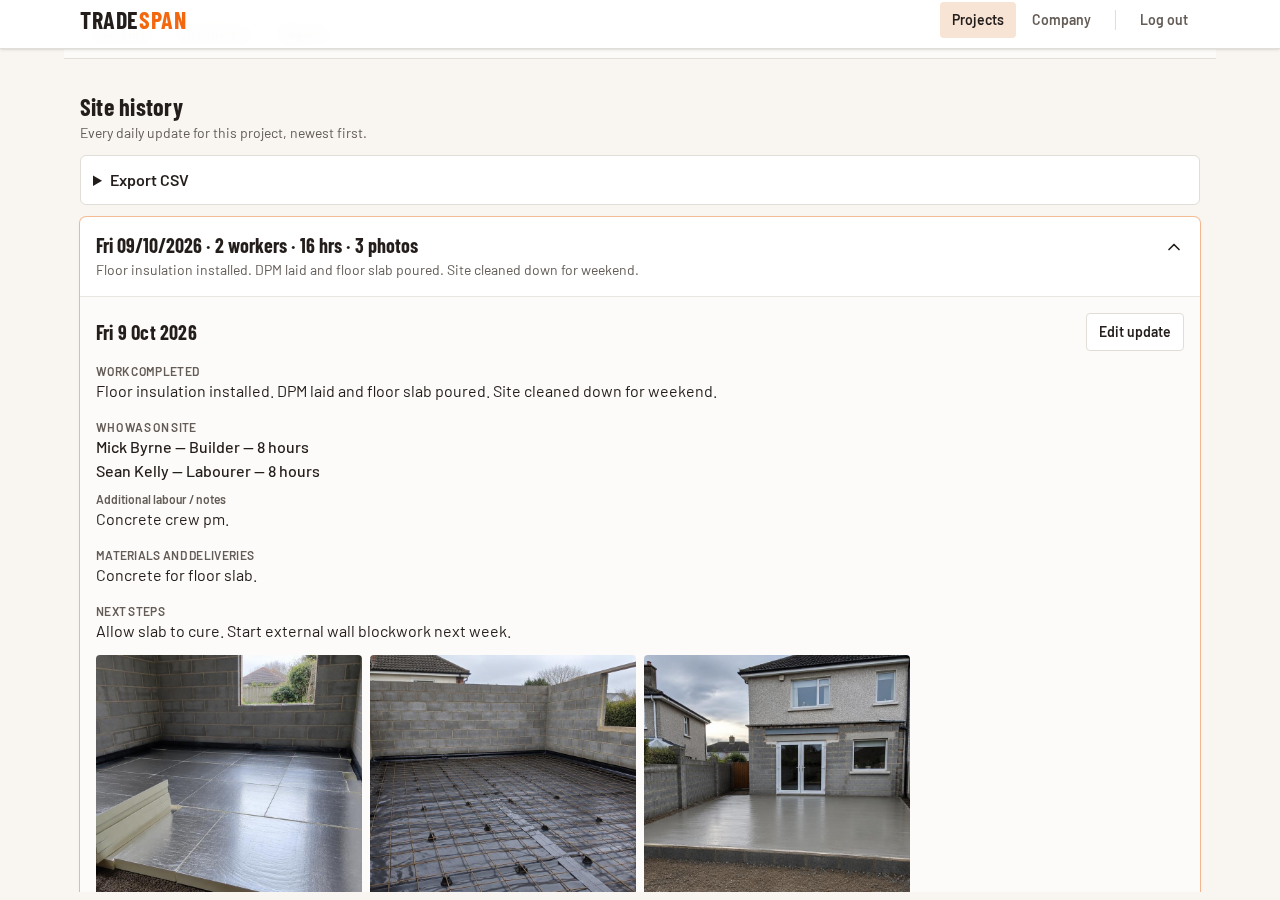
Review Site History
Daily records are kept in the project's Site History. Each day can be expanded when needed.
- team and hours
- notes
- photos
- issues
- editing an update
- CSV export
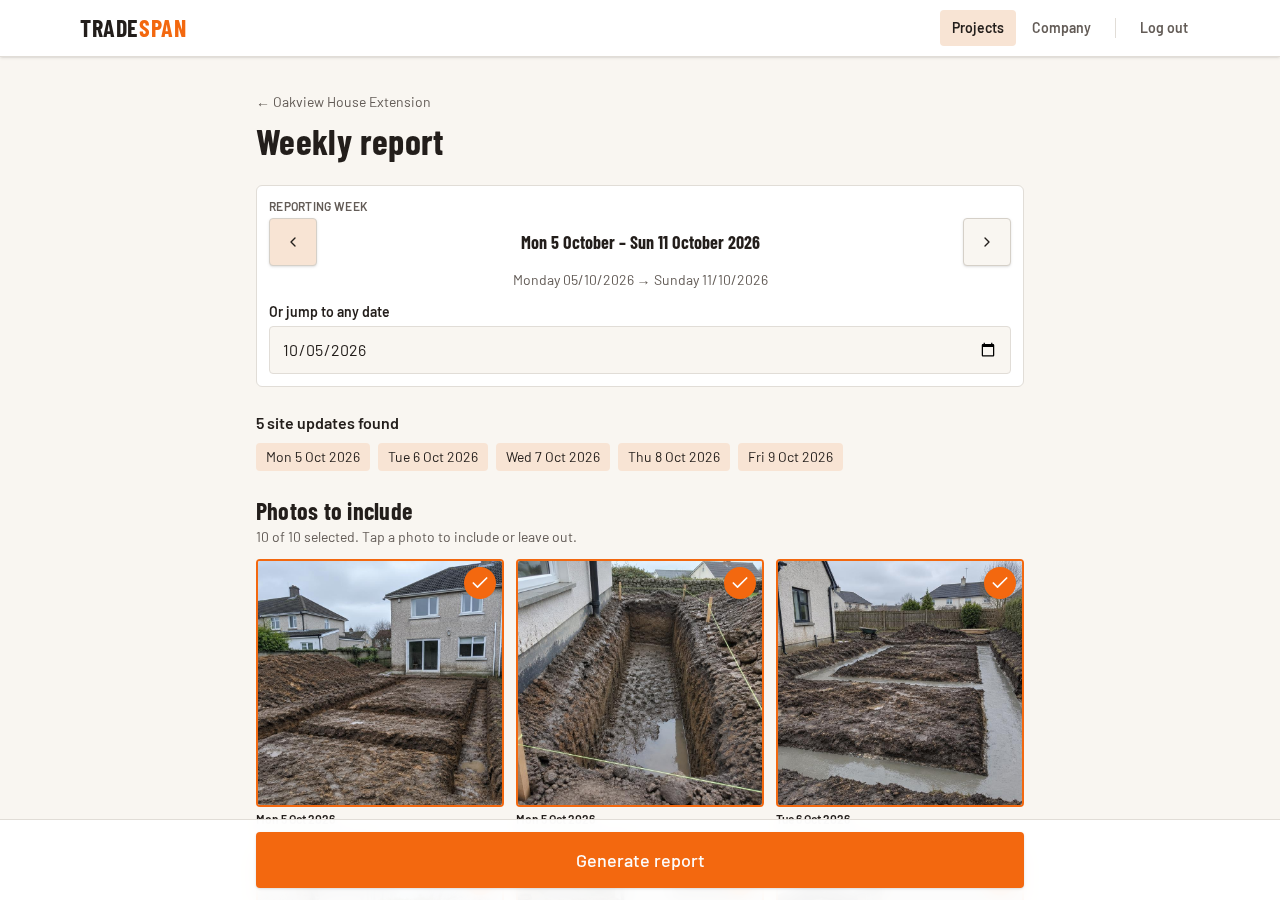
Create the weekly report
Choose the reporting week. TradeSpan finds the updates recorded for that Monday–Sunday period.
Review the available photos, choose which ones should appear, then generate the report.
Tip: TradeSpan improves the wording of your recorded notes but must not invent project facts.
Review and export
Review and edit the generated client report before using it.
- Print / Save PDF
- Copy report text